Ingrid Whitcher

Patterns for sale

We have many patterns available, and more are regularly added. Shop our online store now

Classes & Lectures

Ingrid has developed several classes and lectures based on the quilts that she has created. Read more about them here

Long-arm Quilting Services

Ingrid is now offering professional long-arm quilting services. Check out the long-arm quilting services page for pricing and more info.

Bits & Pieces

Quilted Large Tote with Zippered bag – Tutorial – part 4

Published on 10/30/12

New attached image

In this part of the tutorial, we will be applying the top strip. I sew it on the same way that I sew on binding for a quilt.

This is part 4 in the series. If you missed Part 1, you can find it here and part 2 can be found here, and part 3 an be found here. There is a supply list for the project in Part 1.

The strip width should be 2 1/4 or 2 1/2 inches wide and the length of the fabric from selvage to selvage.

New attached imageNew attached image

Step 1

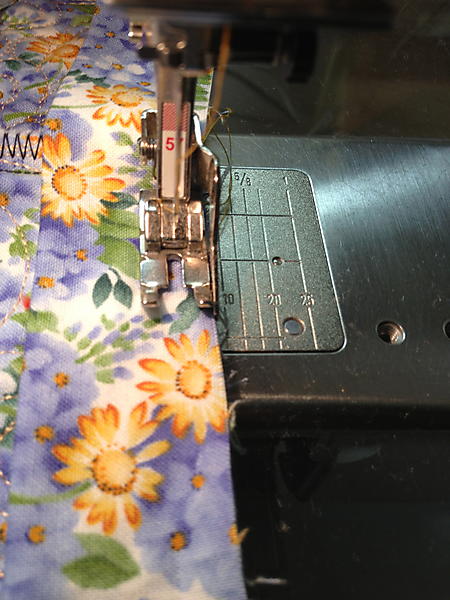
Iron the strip in half, length-wise. Lie up the raw edges of the binding strip and the raw edges of the bag on the inside of the bag’s top edge. You will want to leave a 4-5 inch tail of the binding, so that you can join the pieces together at the end.

New attached image

Step 2

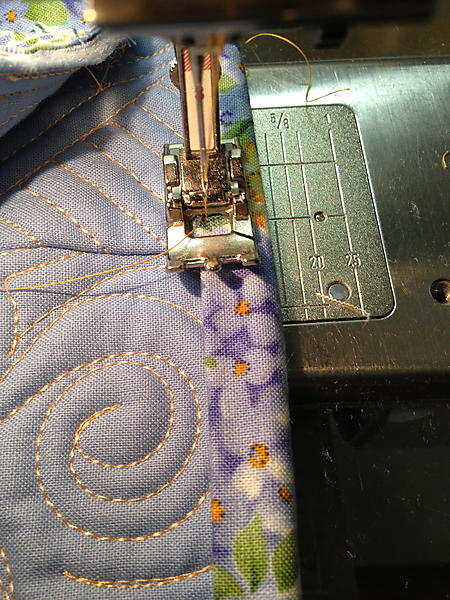
Sew along the edge using a 1/4 inch seam allowance. I use my Bernina 1/4 inch foot with a guide to keep a consistent seam allowance. Stop sewing about 4-5inches from where you will need to join the strips together.


New attached image New attached image New attached image New attached image

Step 3

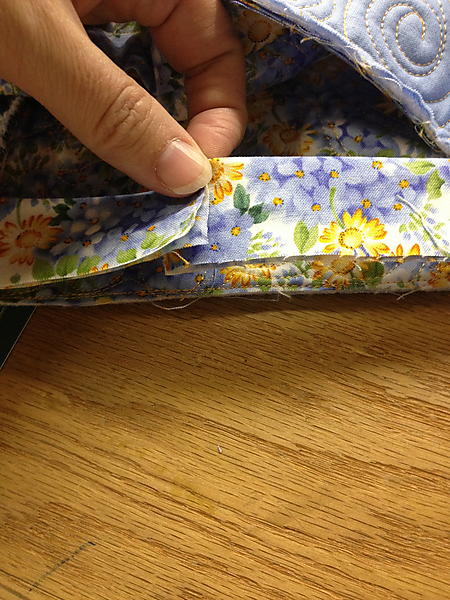
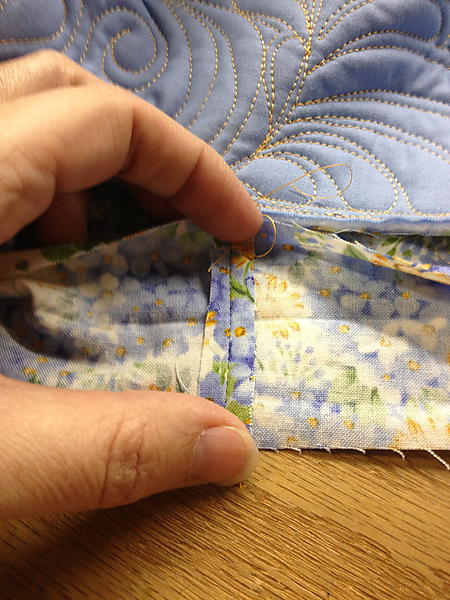
Overlap the two strips. You can either put a small snip in the raw edge side of the binding strip to know where the jointing seam needs to be or finger press each strip back and use that line as your seam guide. Join the strips together using a straight stitch. Then finger press the seam open.


Step 4

Finish sewing the rest of the seam. I usually backstitch to secure this well.


New attached image New attached image New attached image

Step 5

I usually turn the bag inside-out for this step as it is easier to maneuver the bag while sewing. Turn the binding strip over the top edge of the bag. Straight stitch close to the folded edge of the binding strip. After sewing the straight stitch, you can stitch a decorative stitch long the top edge of the bag.

Sheila’s quilt

Published on 10/30/12

I finished my first client quilt on the long-arm this weekend. I have quilted about 70 of my own quilts but had not gotten up the nerve to try a quilting another quilter’s project. I know how much time is invested in the top and I did not want to mess it up. Needless to say, it went GREAT! The tension was wonderful and the design seemed to flow nicely. I am so glad that Sheila trusted me with her quilt and helped me get over the hurdle.

She wanted a simple all-over design but I just could not do it. I stuck with 3 simple, open designs and it looks great. I do not think she will mind the free up-grade.

New attached image New attached image New attached image

Quilted Large Tote with Zippered bag – Tutorial (part 3)

Published on 10/29/12

New attached imageThis is part 3 in the series. If you missed Part 1, you can find it here and part 2 can be found here. There is a supply list for the project in Part 1.

In this part of the tutorial, we will be finishing the small zippered bag.


Step 1

New attached image New attached image New attached image New attached image

Make the strap using the 2 1/2×10 inch strip of fabric. Iron the strip in half, lengthwise. You now have a “folded” edge and a “raw” edge. Fold the raw edge in about 1/4” towards the center. Stitch down the length of the strip close to the raw edge. Now take the “folded” edge and overlap the area that was just stitched and once again stitch down the length of the strap. This will make a nice sturdy strap. Do not worry about the raw ends as they will be sewn into the side seam of the bag.


Step 2

New attached image

Fold the strap in half with the raw edges together. Find the placement for the strap by by laying the strap along the zipper line. The bag should be turned inside out. I like my zipper about 1 to 1 1/4 inch from the top. Pin and then baste the strap in place close to the outer raw edge of the bag.


Step 3

New attached image New attached image New attached image

Sew, with a 1/2 inch seam allowance, down the edge opposite from the zipper pull using a straight stitch. It is really important to backstitch at the beginning and end as well as over the zipper area. (This is why it is important to use a plastic zipper instead of a metal zipper.) Trim the excess zipper off then stitch close to the raw edge with a zig-zag stitch to clean up the raw edge.


Step 4

New attached image New attached image

Unzip the zipper. (IF you forget to un-zip the zipper, you will be pulling the stitching out!) Pin the edge in place, making sure that the zipper is lined up. Stitch down the side with a straight stitch, trim the excess zipper and then stitch along the raw edge with a zig-zag stitch.


Step 5

Turn the bag inside out and gently push out the corners.

Stitch sampler – 4

Published on 10/26/12

New attached imageI am really enjoying adding texture to this small quilt. I usually do not quilt hearts – but with the heart in the center, why not continue on with the theme.

New attached image New attached image

Stitch sampler – 3

Published on 10/26/12

Progress…... hoping to have most of this done for class on Saturday. I will take it even if it is not completely stitched out.

New attached image

New attached image

As you can see, I often mark an area and then verve off from that plan a little. No one will know as all the marks will be erased later.