 This is part 2 in the series. If you missed Part 1, you can find it here. A full materials list is in Part 1.
In this part of the tutorial, we will be placing the zipper.
Materials for small zippered bag
- 6 1/2×13 inch piece of pre-quilted fabric
- zipper – plastic teeth ( do not use metal teeth)
- 2 1/2×10 inch strip of fabric
Step 1
I like to use a zipper that is longer than the length of the fabric. I would probably use about a 8-9 inch zipper for this project. I also always test my zipper before sewing it into anything. Just make sure it unzips easily by unzipping and zipping it up a few times. There is not much worse then having to rip out a zipper.

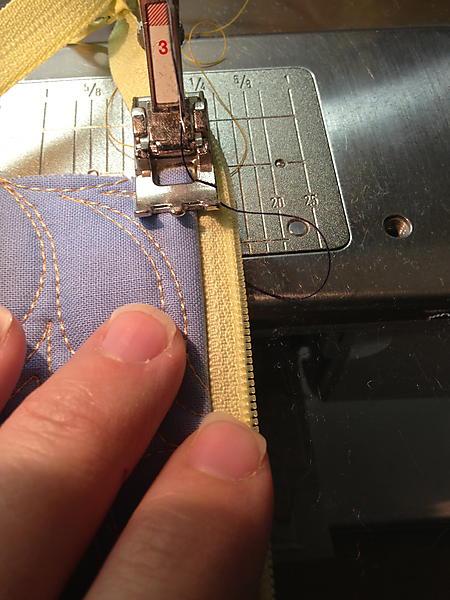
Lay the zipper right side down (the teeth touching your fabric) along the top edge of your fabric. Put in a few pins to keep it from slipping. Using your zipper foot, sew down the length of your zipper using a straight stitch. If this is the first zipper you have put in, you may want to use a basting stitch to make sure you are not stitching too close to the zipper teeth. If you stitch too close to the teeth, you will not be able to unzip the zipper. To finish the edge nicely, use a large zig-zag stitch and catch the area from the straight stitch line off the raw edge. (A picture of the zig-zag stitch is below.)
Step 2
 With the fabric laying right sides together, line up the loose edge of the zipper with the un-finished top edge of the bag. Make sure the side edges of the bag line up. I often place a few pins in the edge to keep them lined up..
 Sew on the other side of the zipper repeating the process in step 1.
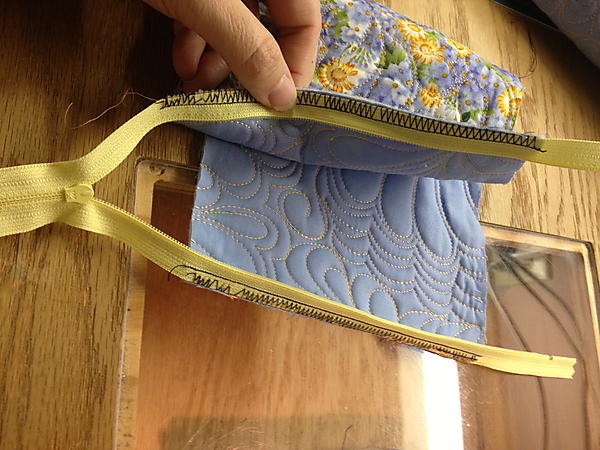
 This is how it should look with both sides sewn with a straight stitch and then finished with the zig-zag stitch.

Step 3
Unzip the zipper all the way. This is the step that makes me always want to have a zipper that is a little larger than the top of my bag.
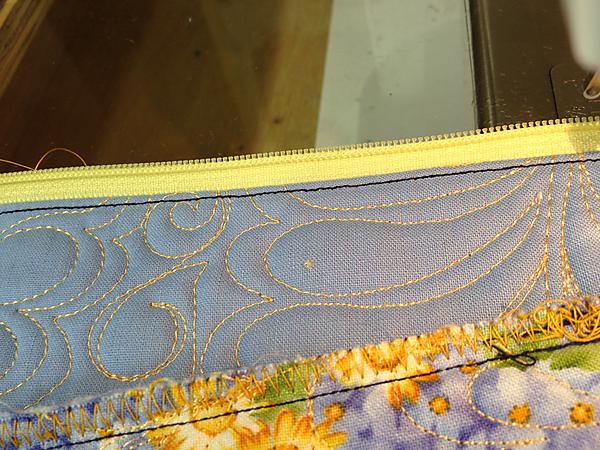
 Top stitch along the seam using a straight stitch. This keeps the fabric from getting caught in the zipper teeth while unzipping the bag and also makes it easier to unzip. It is important that you push the seam away from the zipper teeth. You will feel a ridge when the fabric is pushed back. Sew close to the seam edge. You can use a straight stitch or a pretty decorative stitch for this step.

