I really like using my “practice” pieces for large tote bags. I feel that the practice work needs to be as close to a real quilt top as possible. I often use a solid top with a contrasting thread and a busy backing. This helps me see my practice stitching well as I work.
This practice work was done on the long-arm. My motto has become “Perfect practice makes perfect work.”
Here is a step-by-step tutorial, so you can make a quilted tote bag.


Materials needed for the bag:
- 1/2 yard pre-quilted fabric
- 2 1/2×40 inch strip for the top edge
- 1/2×40 inch strip of batting – for the strap
- 4 1/2×40 inch strip for straps
Materials for small zippered bag (optional)
- 6 1/2×13 inch piece of pre-quilted fabric
- zipper
- 2 1/2×10 inch strip of fabric
Step 1
 Square up a 1/2 yard piece of pre-quilted fabric. Decide what is going to be the outside.
Step 2

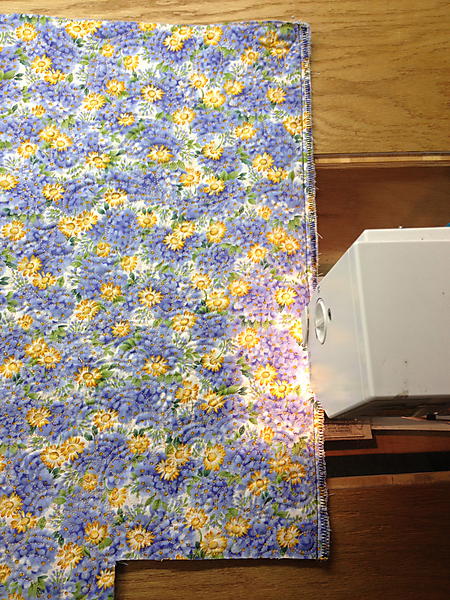

Fold fabric in half with right sides together. Stitch down both sides with a straight stitch and then again with a zig-zag stitch to clean up the edge.
Step 3


To give the bag a “bottom”, turn the bag and pinch the corner. Make sure you line it up so the side of the bag is now the center. I lay it on my cutting mat to help line everything up. Measure down from the corner and use a pencil to mark your sewing line. (For a large tote, you will want at least a 2 1/2 inch corner up to a 4 inch corner.
Step 4
 Use a basting stitch to “check your corner”. This insures that the bottom of your bag will sit nicely. I often make my corner cuts too large and doing a basting stitch allows me to test it first. Once I am happy with the bottom, I use a straight stitch and then finish the edge with a zig-zag stitch.
Step 5
 Turn the bag inside out and admire your work. This completes the body of the bag.