
In this part of the tutorial, we will be applying the top strip. I sew it on the same way that I sew on binding for a quilt.
This is part 4 in the series. If you missed Part 1, you can find it here and part 2 can be found here, and part 3 an be found here. There is a supply list for the project in Part 1.
The strip width should be 2 1/4 or 2 1/2 inches wide and the length of the fabric from selvage to selvage.

Step 1
Iron the strip in half, length-wise. Lie up the raw edges of the binding strip and the raw edges of the bag on the inside of the bag’s top edge. You will want to leave a 4-5 inch tail of the binding, so that you can join the pieces together at the end.
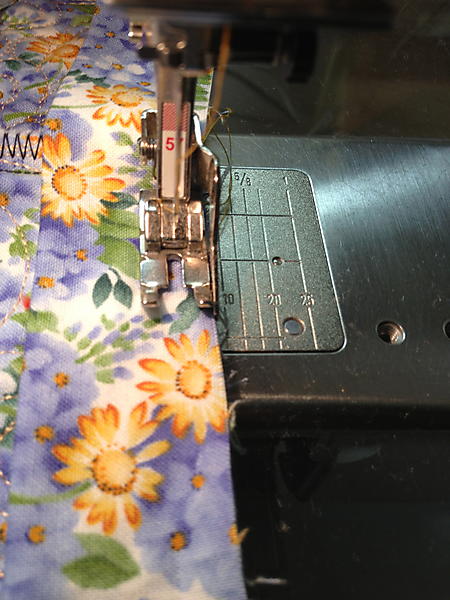
Step 2
Sew along the edge using a 1/4 inch seam allowance. I use my Bernina 1/4 inch foot with a guide to keep a consistent seam allowance. Stop sewing about 4-5inches from where you will need to join the strips together.


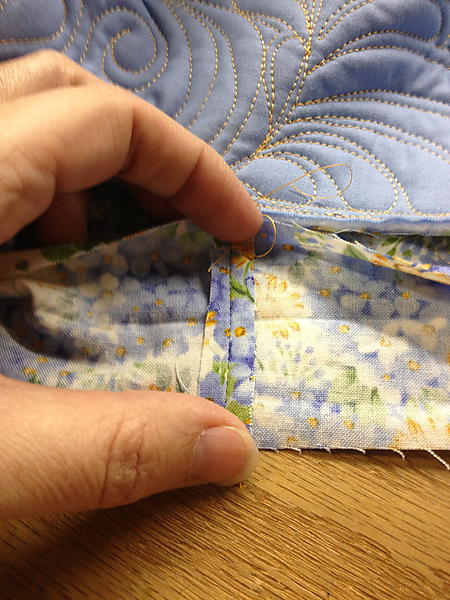

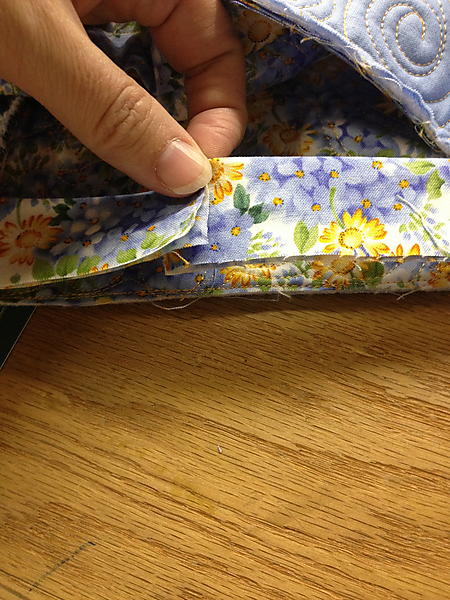
Step 3
Overlap the two strips. You can either put a small snip in the raw edge side of the binding strip to know where the jointing seam needs to be or finger press each strip back and use that line as your seam guide. Join the strips together using a straight stitch. Then finger press the seam open.
Step 4
Finish sewing the rest of the seam. I usually backstitch to secure this well.

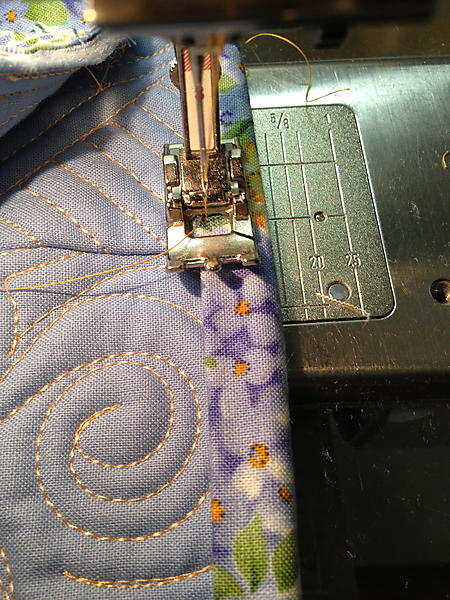

Step 5
I usually turn the bag inside-out for this step as it is easier to maneuver the bag while sewing. Turn the binding strip over the top edge of the bag. Straight stitch close to the folded edge of the binding strip. After sewing the straight stitch, you can stitch a decorative stitch long the top edge of the bag.