Ingrid Whitcher

Patterns for sale

We have many patterns available, and more are regularly added. Shop our online store now

Classes & Lectures

Ingrid has developed several classes and lectures based on the quilts that she has created. Read more about them here

Long-arm Quilting Services

Ingrid is now offering professional long-arm quilting services. Check out the long-arm quilting services page for pricing and more info.

Bits & Pieces

My extra large ironing board

Published on 01/08/13

New attached image

I have always wanted an extra large ironing board – and now I have one. We had a extra piece of 3/4 inch plywood that I knew would work wonderfully.

I really like it because it is straight on the sides instead of rounded, which makes ironing fabric and quilt tops so much easier.

Dimensions: 55×23 inches


New attached image

Here is a quick walk though of how I made it.

1. Cover the board with a piece of batting. I used a scrap piece of black polyester/cotton blend. Tack the batting in a few places with a staple gun. Cut away the excess at the covers so It will not be too bulky.

2. Cover the batting with a piece of cotton fabric. I have had this piece in my stash for some time. If is is directional, like mine is, make sure you place a few temporary staples to keep it straight. Using a staple gun, place staples every few inches apart. I then hammered the staples in since it is laying on top of two old sewing machine tables.


New attached image

I love that it uses the machine tables as the base, effectively putting the tables to use and in storage at the same time.

Completed Postcard Project

Published on 01/07/13

A-E

New attached imageNew attached imageNew attached imageNew attached imageNew attached image


F-J

New attached imageNew attached imageNew attached imageNew attached image


K-O

New attached imageNew attached imageNew attached imageNew attached image


P-T

New attached imageNew attached imageNew attached imageNew attached image


U-Y

New attached imageNew attached imageNew attached imageNew attached imageNew attached image


Z

New attached image

Wish I would have remembered all of the pictures, but nonetheless, I have really enjoyed the project and I know my niece has as well.

Kitchen Remodel – Progress

Published on 01/03/13

I am so happy that we are making some progress on our kitchen remodel. I showed some pictures of some of the painted furniture here.

I thought maybe you all would enjoy some during the process pictures. I forgot to get a picture before we started taking the cabinets down – but I figured you all could use your imagination.

Our goal with this project was to remove a wall separating the (small) dining room form the (small) kitchen and make it a more open and usable space. So far, we are loving it.


Before

New attached image New attached image


De-construction

New attached image New attached image New attached image


New attached image New attached image New attached image

Paint

We decided to paint the whole area a light blue/turquoise color with a stencil color that was darker. I usually do some stenciling, but this was the first time I used an edge-to-edge stencil. Somewhat frustrating since our walls are far from straight, but it turned out lovely. I only did the stencil work on the one long wall and I love how it looks with the shelves and hutch.


New attached image New attached image

Window treatments

We found a wonderful fabric for the curtains. I wanted the kitchen and dining room curtains to match this time. I also really likes the half curtains that I had in the dining room – so I made matching half curtains. The shelves above the curtains still need to go up – actually one still needs to be made. Mark is also going to make some cool curved cornices.

New attached image New attached image

Painted furniture

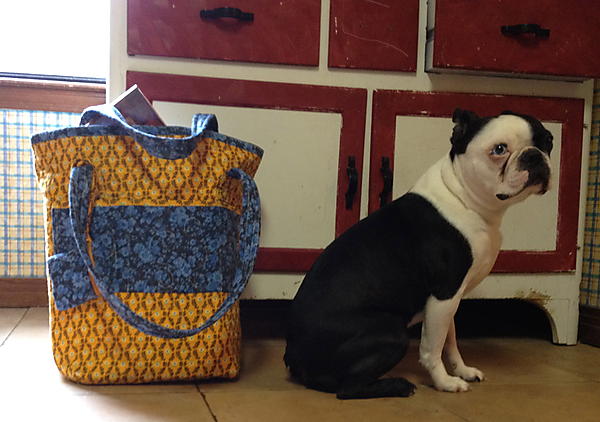
This is another painted furniture project that I did for this project. This Hoosier cabinet base has served us quite well over the years. We got it soon after we were married – on the side of the road up in Indianapolis. It was a changing table for years and then moved to the kitchen.

Here is a before and after pictures. If you look carefully, you can see the old kitchen wallpaper in the background.

Postcard project – Y and Z

Published on 01/03/13

New attached image

“Y” is for Yarn


New attached image

“Z” is for Zipper

New attached image New attached image

How they grow!

Published on 01/03/13

My youngest let me get a picture with him the other day. I cannot believe that in one more year I will have 3 teenagers.

New attached image

I totally miss all the hugs and cuddles but I would rather have him growing and maturing.

New attached image

This seems like it was just yesterday. (He is the littlest of the group.) I just can not resist adding the last picture – it is my all-time favorite of Garrett.

New attached image