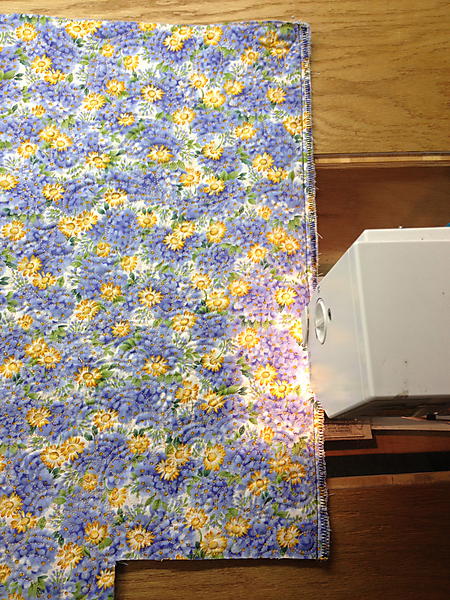
I really like using my “practice” pieces for large tote bags. I feel that the practice work needs to be as close to a real quilt top as possible. I often use a solid top with a contrasting thread and a busy backing. This helps me see my practice stitching well as I work.
This practice work was done on the long-arm. My motto has become “Perfect practice makes perfect work.”
Here is a step-by-step tutorial, so you can make a quilted tote bag.


Materials needed for the bag:
- 1/2 yard pre-quilted fabric
- 2 1/2×40 inch strip for the top edge
- 1/2×40 inch strip of batting – for the strap
- 4 1/2×40 inch strip for straps
Materials for small zippered bag (optional)
- 6 1/2×13 inch piece of pre-quilted fabric
- zipper
- 2 1/2×10 inch strip of fabric
Step 1
 Square up a 1/2 yard piece of pre-quilted fabric. Decide what is going to be the outside.
Step 2


Fold fabric in half with right sides together. Stitch down both sides with a straight stitch and then again with a zig-zag stitch to clean up the edge.
Step 3


To give the bag a “bottom”, turn the bag and pinch the corner. Make sure you line it up so the side of the bag is now the center. I lay it on my cutting mat to help line everything up. Measure down from the corner and use a pencil to mark your sewing line. (For a large tote, you will want at least a 2 1/2 inch corner up to a 4 inch corner.
Step 4
 Use a basting stitch to “check your corner”. This insures that the bottom of your bag will sit nicely. I often make my corner cuts too large and doing a basting stitch allows me to test it first. Once I am happy with the bottom, I use a straight stitch and then finish the edge with a zig-zag stitch.
Step 5
 Turn the bag inside out and admire your work. This completes the body of the bag.
 We recently spent some time away from home at a camp in Alabama. We had beautiful weather! Emilie got to try out my new panoramic App on my iPhone.


 I was reminded yesterday at church that their are 5 more Mama’s expecting. Our nursery program is booming. =) I have a few quilts done, but will need to get busy. The next baby due is a little boy. I have had the theme zebra fabric in my stash for some time and decided to piece it simply with some black. It is an altered fence and rails pattern that I designed.


 It is always hard for me to just sit. I usually have at least some hand work or designing to do. If it is not in my hands, my brain is actively working on it.
 My oldest is turning 16 this month and it is making me think about time. She is such a lovely and talented girl. The time has gone so fast.