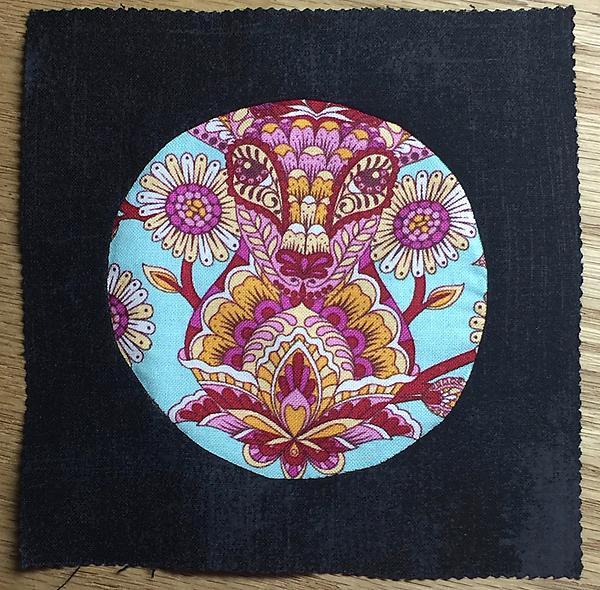
For Part 1 of the Pieced Circle Tutorial go here.
Pin


Pinning is a slow process but makes the sewing so fast. Remember the black block pice is placed on top of the circleStarting at the double arrows, place a pin through the black block piece and then through the circle. the ball of the pin will be on the outside of the block. Each time only concentrate on lining up the two short lines through at the sewing line and then move to the next. If you can not get it to “reach”, add an extra clip to relax the fabric. Once you have pinned all the way around the piece will lay flat again.
Sew


To start sewing you will need to match your thread and set the stitch length on your machine slightly larger. Do not go too large as the thread will start peeking around the edges after it is pieced.
I use an open piecing foot that allows easy visibility to my marked lines. Remember that you have marked you piecing line and you need to be able to see it. Start anywhere on the circle with a backstitch and then slowly sew from one pin to the next. Do not sew over pins as this can damage your needle/machine. I also backstitch at the end as well.
Press


The last step is pressing. I use a small about of steam to press the seam. Remember that this is not ironing and you do not want to stretch out the block. However, if while sewing you make a small pleat, I little heavy steam and pressure usually presses it out. If needed an extra clip can also be added to the seam allowance.
Congratulations on piecing in your circle.